We built a new firmware which provides the PiTDM to work with Raspbx, it supports Pi 3 B+, Pi 3, Pi 2, B+, B and A models. You can download it in here. Here is a guide to show how to use it.
First of all, follow the Manual of installing PiTDM module in here to install the PiTDM module, when finished the PiTDM module’s installation, then download the firmware from the link that it is shown above.
unzip it:
gunzip switchpi-raspbx-1.0.1.img.zip
Use the dd to copy it to a 4G at least SD card,
dd if=switchpi-raspbx-1.0.1.img of=/dev/mmcblk0 bs=4M
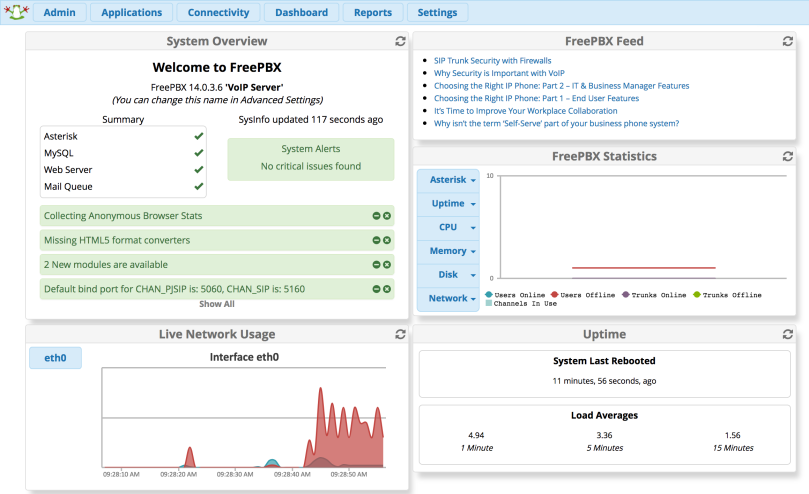
When done, power up the Raspberry Pi with followed the Manual of installing PiTDM module in here. The default IP is 192.168.1.98, GUI username is admin and password is admin, please change it to a stronger password when you log into the GUI.
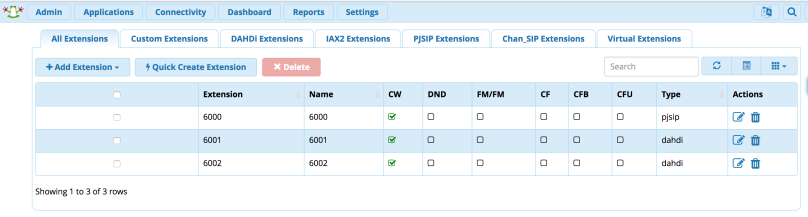
We built a default PJSIP extension and two FXS channels if you have FXS module installed which you can use it to test our PiTDM by quickly, it looks like below
When you get the extension registered, it is time to go to the Freepbx Connectivity -> Dahdi configs to look at does the Freepbx detected or not for PiTDM module
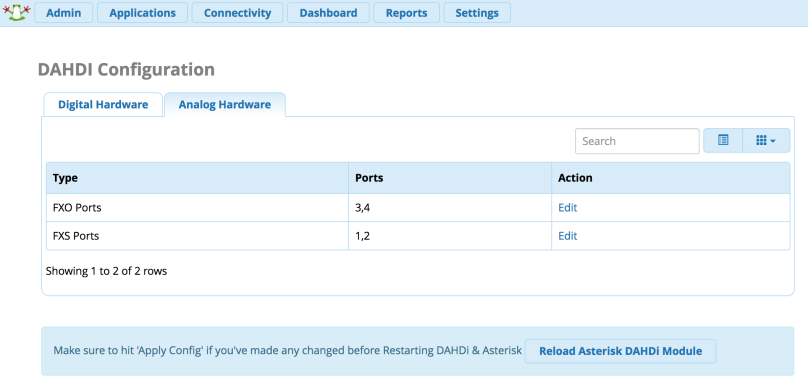
The above picture shows the Freepbx found 2 FXO ports and 2 FXS ports.
Then please connect your PSTN cable to first two ports of 4 ports of PiTDM, and make an inbound route to route the incoming call to the PJSIP extension 6000, you should get the extension 6000 ringing when the call comes from PiTDM fxo port.
The SSH login default username/password is root/raspberry.

[…] SwitchPi TDM module fully supports the Raspbx’s latest version, the Digium official GUI and the SwitchPi own […]
LikeLike